

Meetings in PRIZ are project conversations with a clear purpose: only people who can contribute or benefit should attend — and they say why. The Meetings area lives in the project shortcut row (next to Tasks), not as a numbered stage in the left sidebar.
The page heading is Meetings. The one-liner is: Schedule meetings where every attendee has a clear reason to contribute or benefit.
For the full project map, see Project Structure.
Sign Up & Login
This document assumes you have already registered, logged in, and created a project. If you need help with those steps, see Sign Up & Login Instructions and Creating Projects.
Why meetings work this way
A meeting should not be a default calendar invite to everyone nearby. In PRIZ, invitees choose a role and write a short explanation:
- Contributor — they will actively help with the meeting’s goals.
- Observer — they are there to learn or benefit from the discussion (and they explain why that matters).
If someone cannot contribute and cannot benefit, they should decline. There is no “Maybe.” Decline does not require an explanation.
What you see on this page
Open Meetings from the shortcut icons at the top of the left sidebar (tooltip: Meetings), or use footer Meet on investigation stages. Breadcrumb: Home → Projects & Tools → Project → Meetings. Learn more » points to this article.
You do not create meetings from the header + menu. Use Create new meeting on the Meetings page, or footer Meet.
Empty Meetings
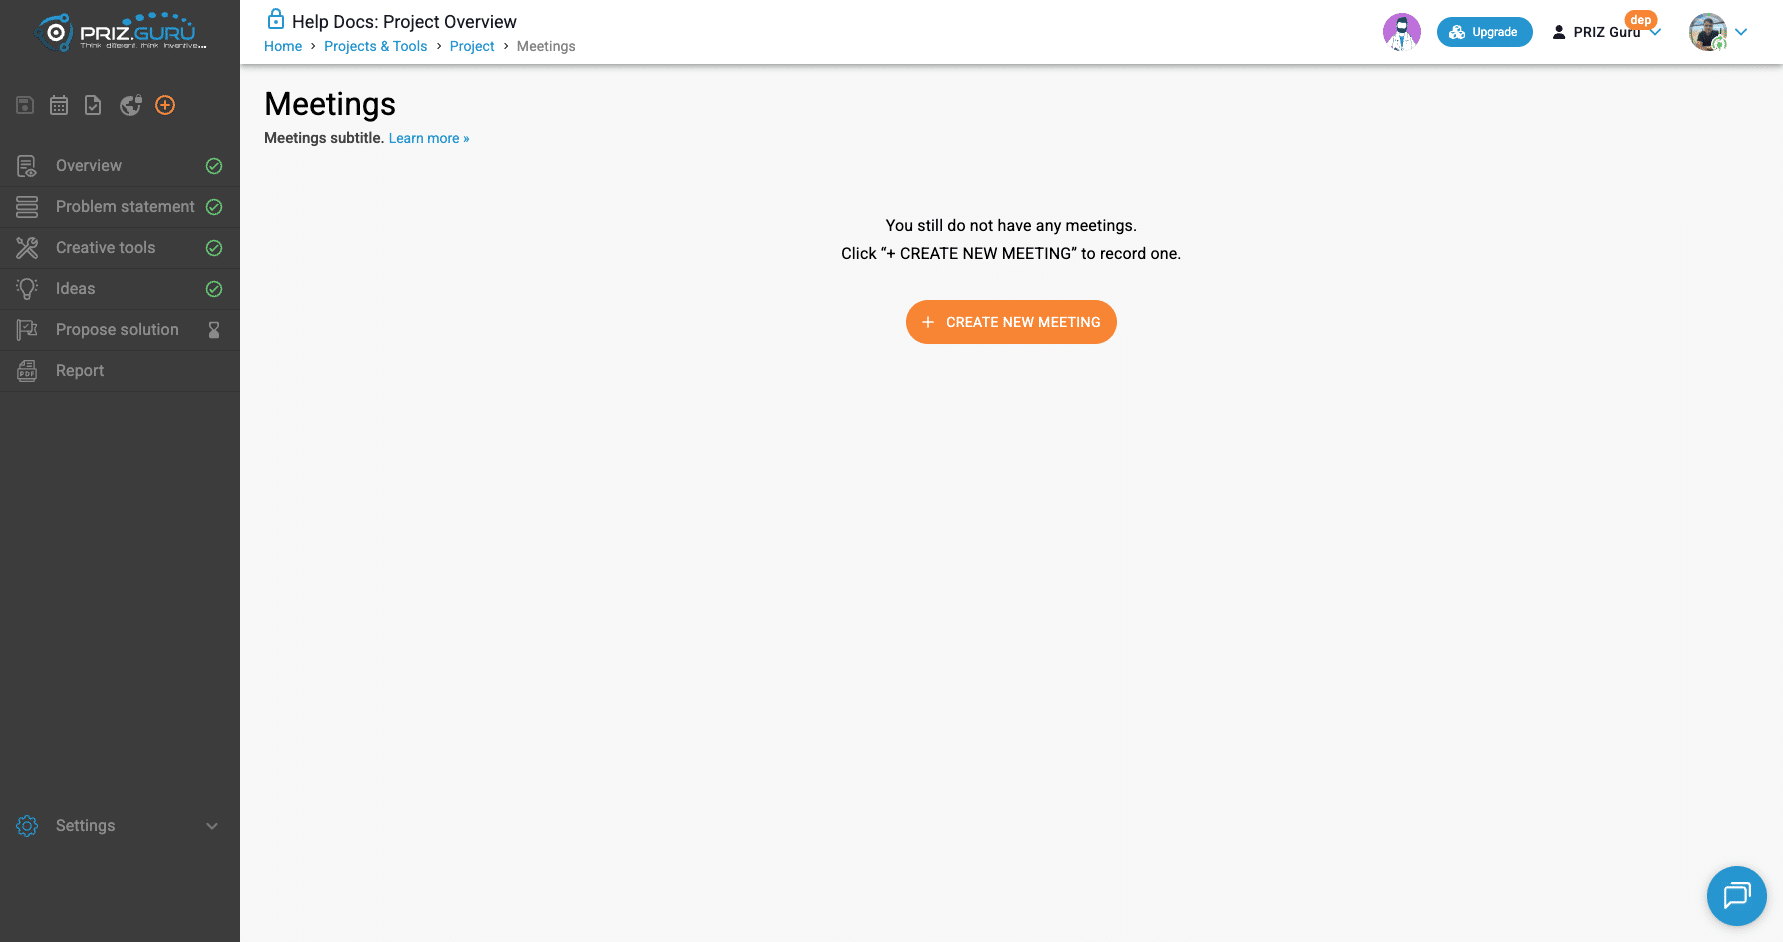
A new project starts with no meetings. You see:
- You still do not have any meetings.
- Click “+ CREATE NEW MEETING” to record one.
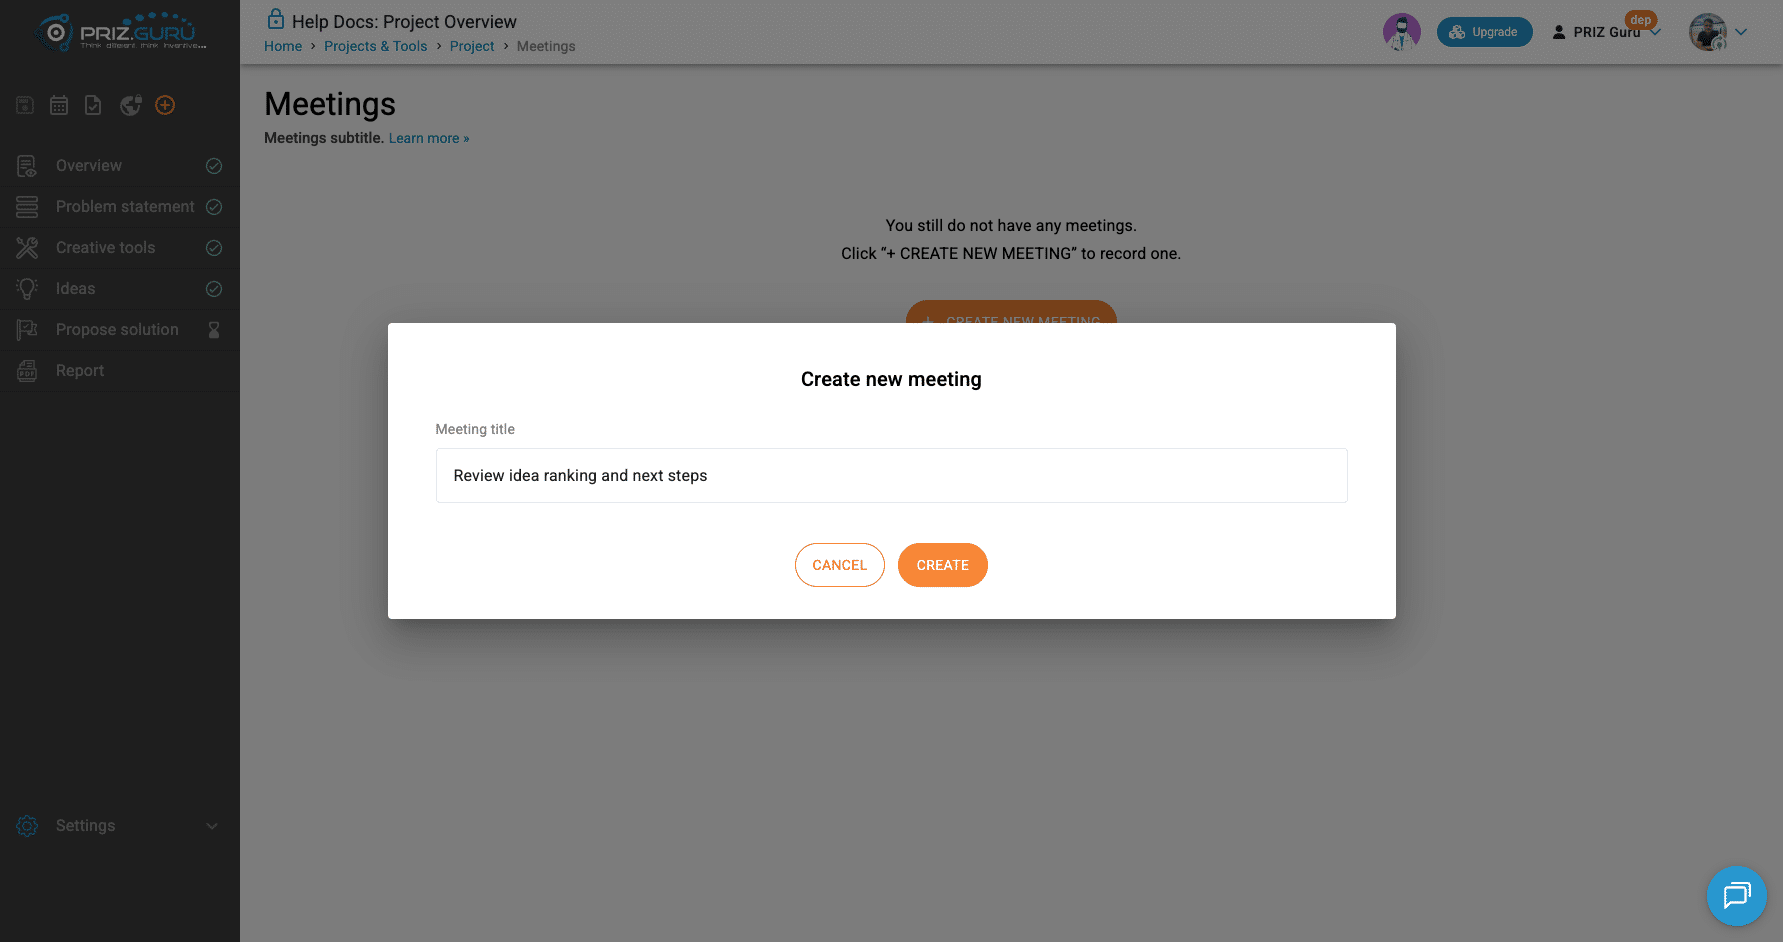
Create a meeting (Draft)
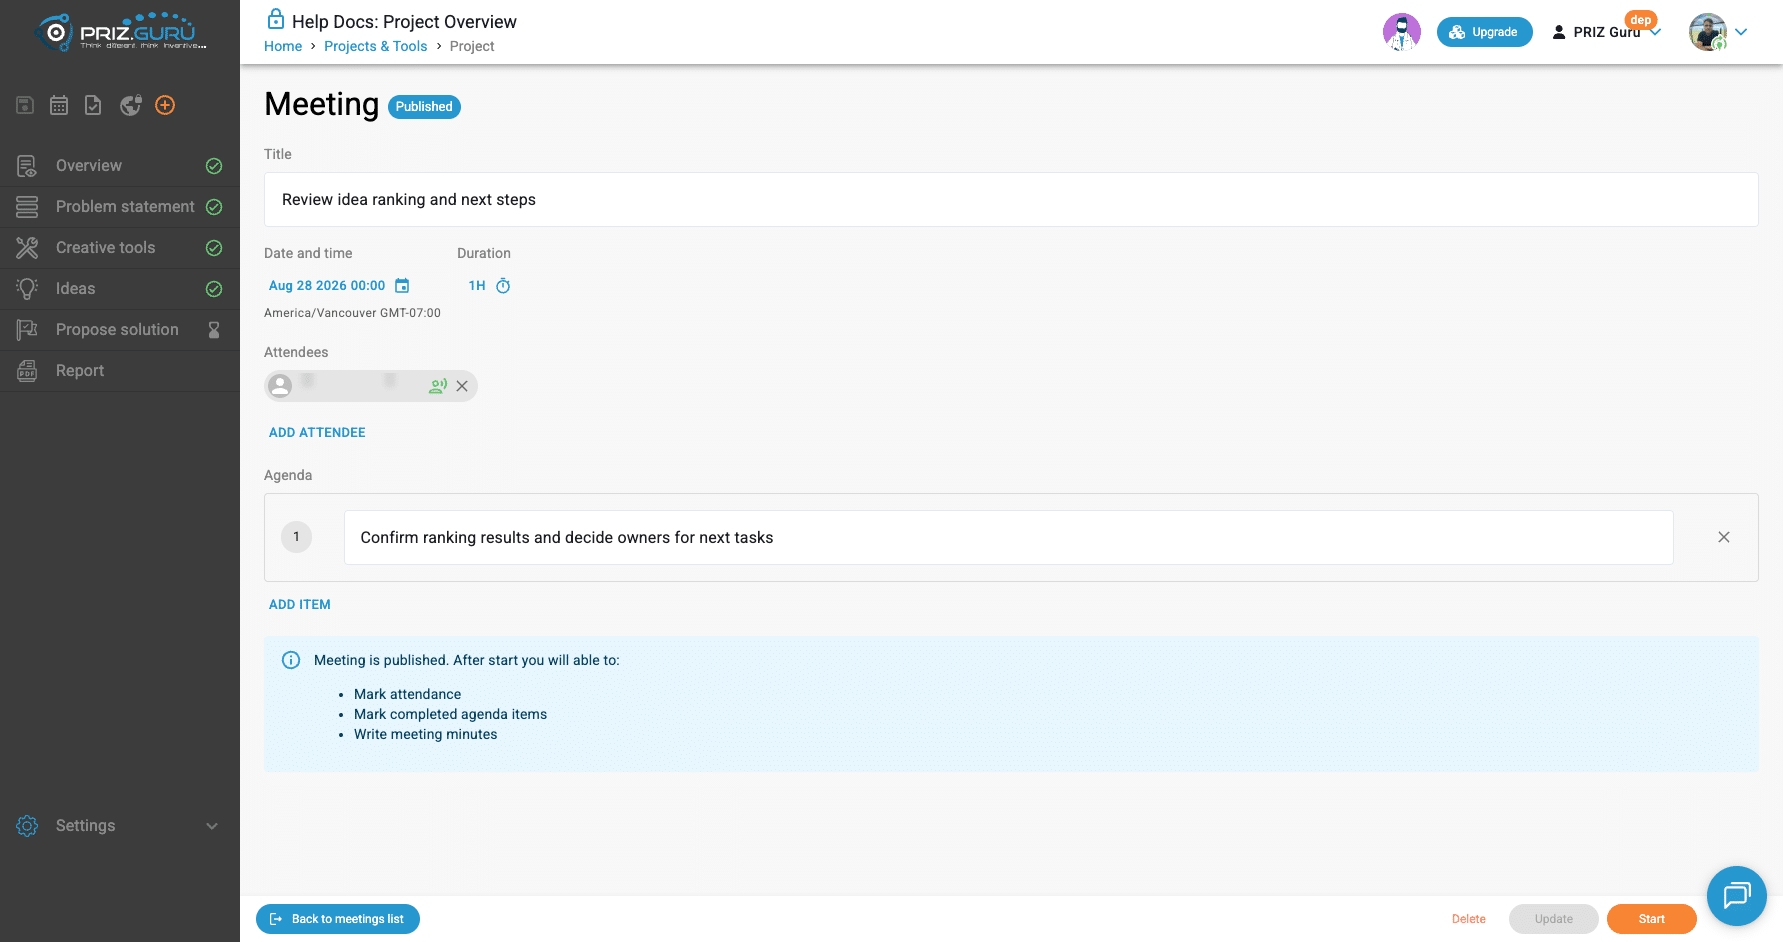
Dialog title: Create new meeting. Enter a Meeting title, then Create. The meeting opens as Draft — not visible to invitees until you publish.
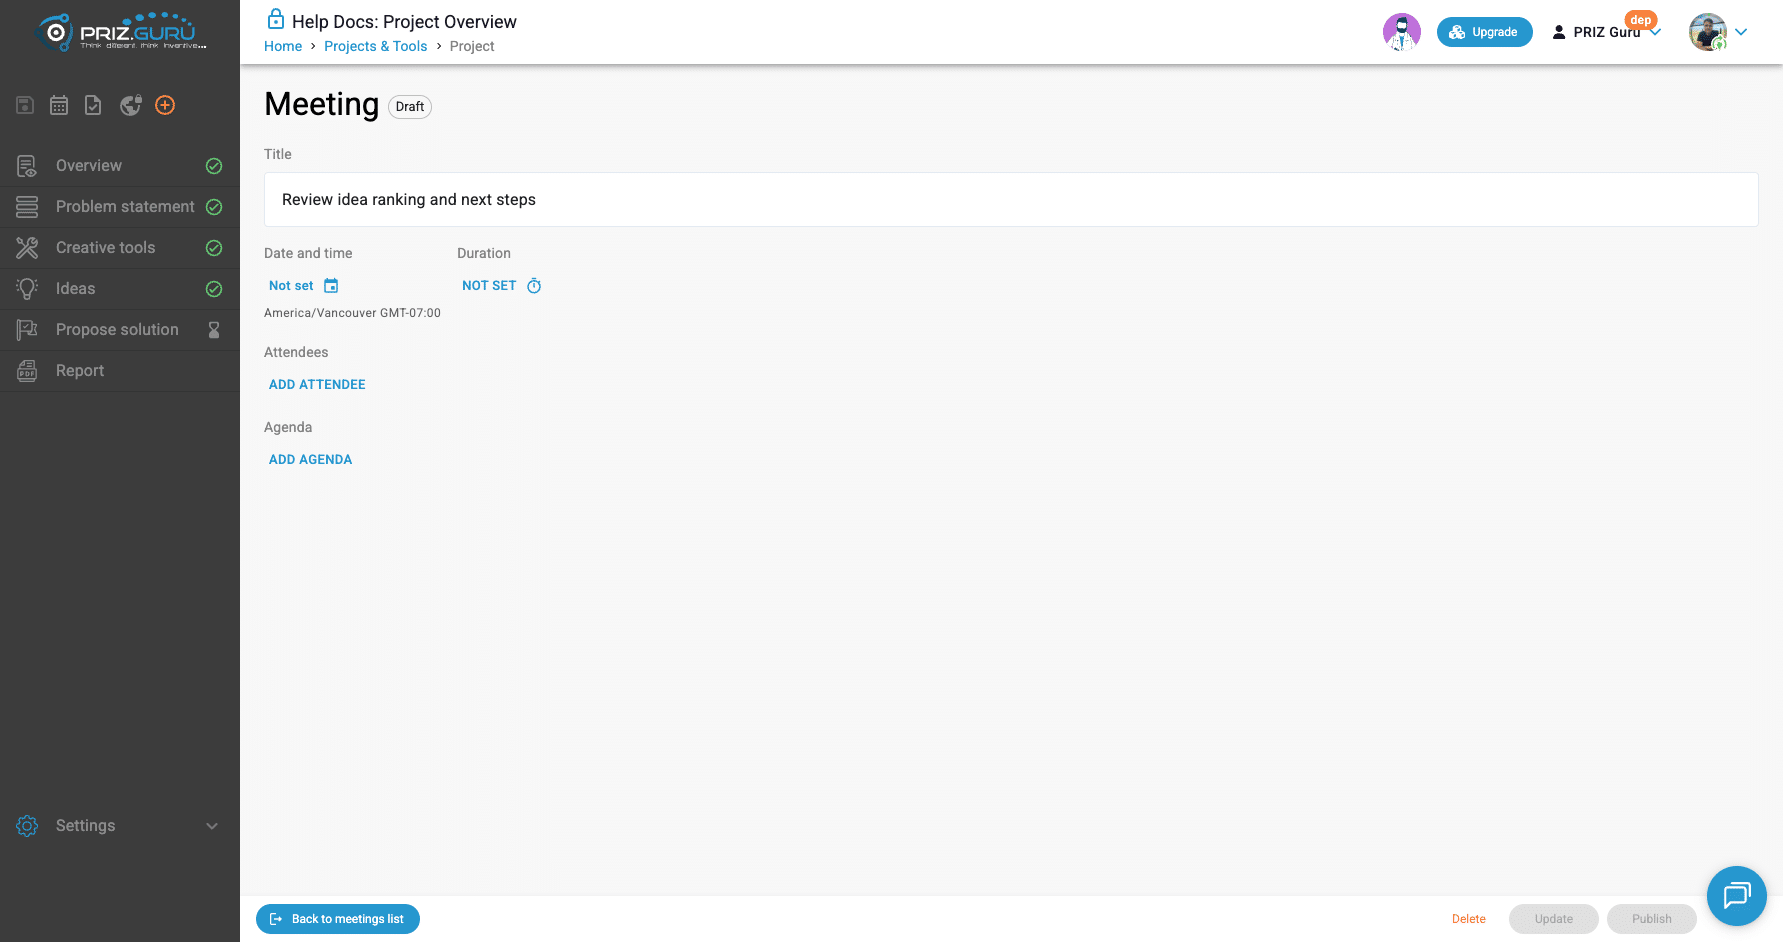
On the draft editor, fill in:
- Title
- Date and time (and timezone)
- Duration
- Attendees — at least one (required to publish)
- Agenda — at least one item (required to publish)
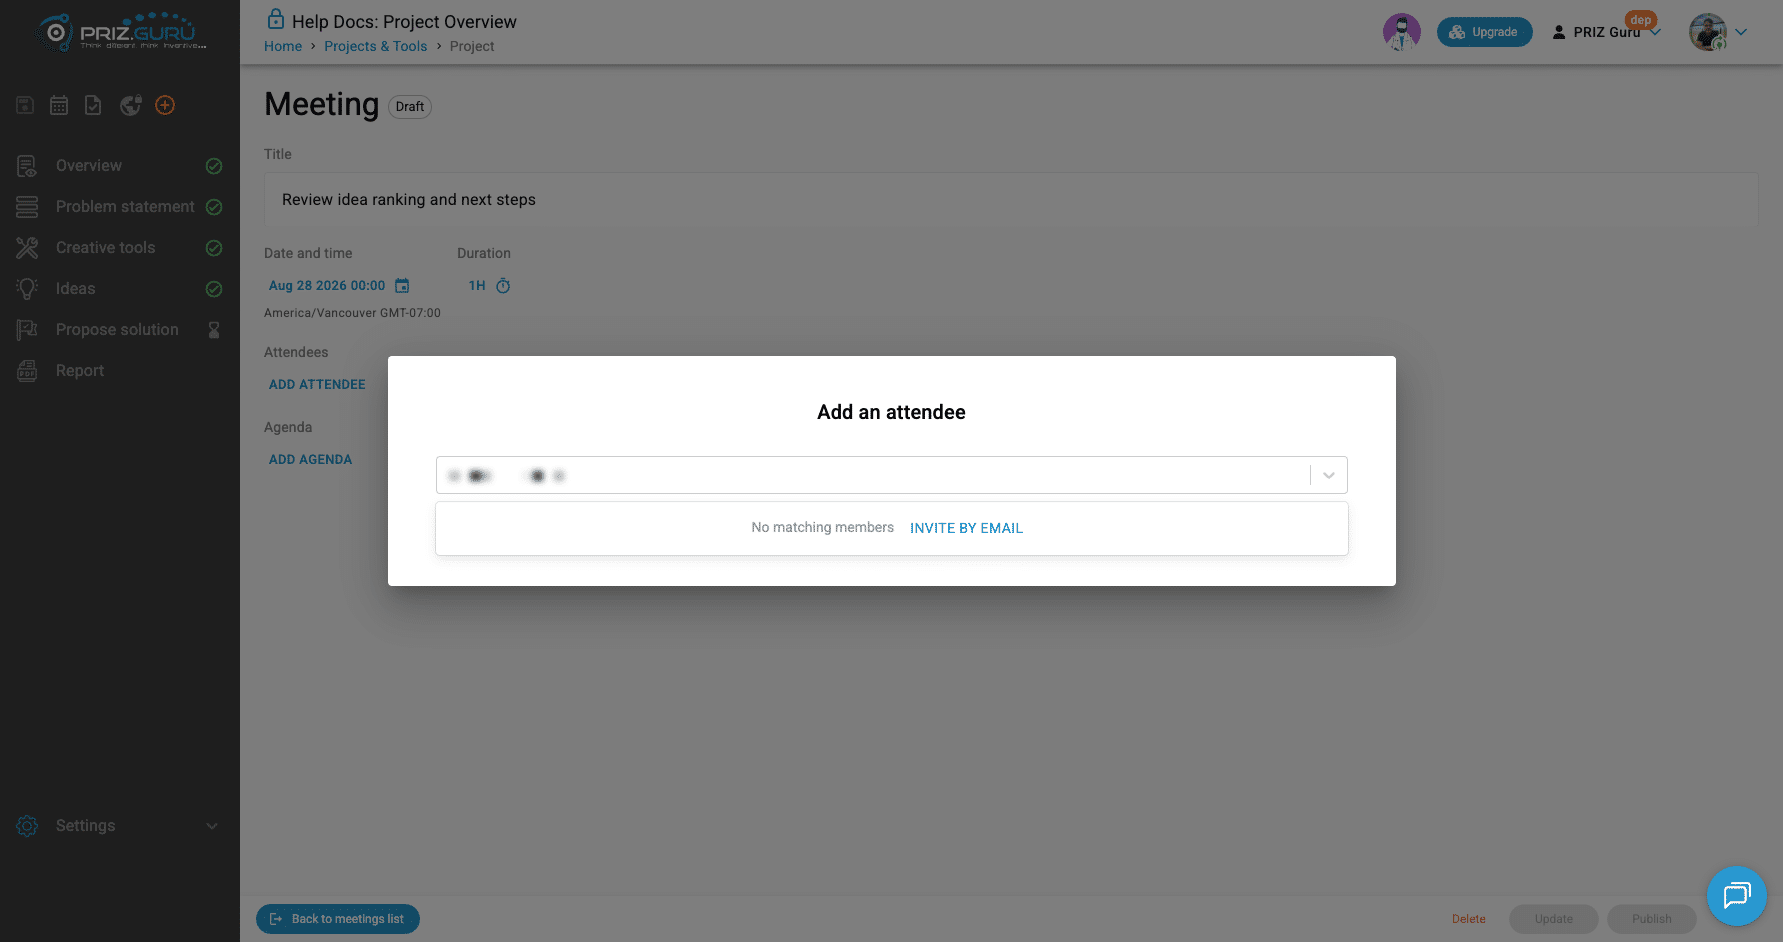
Add attendees
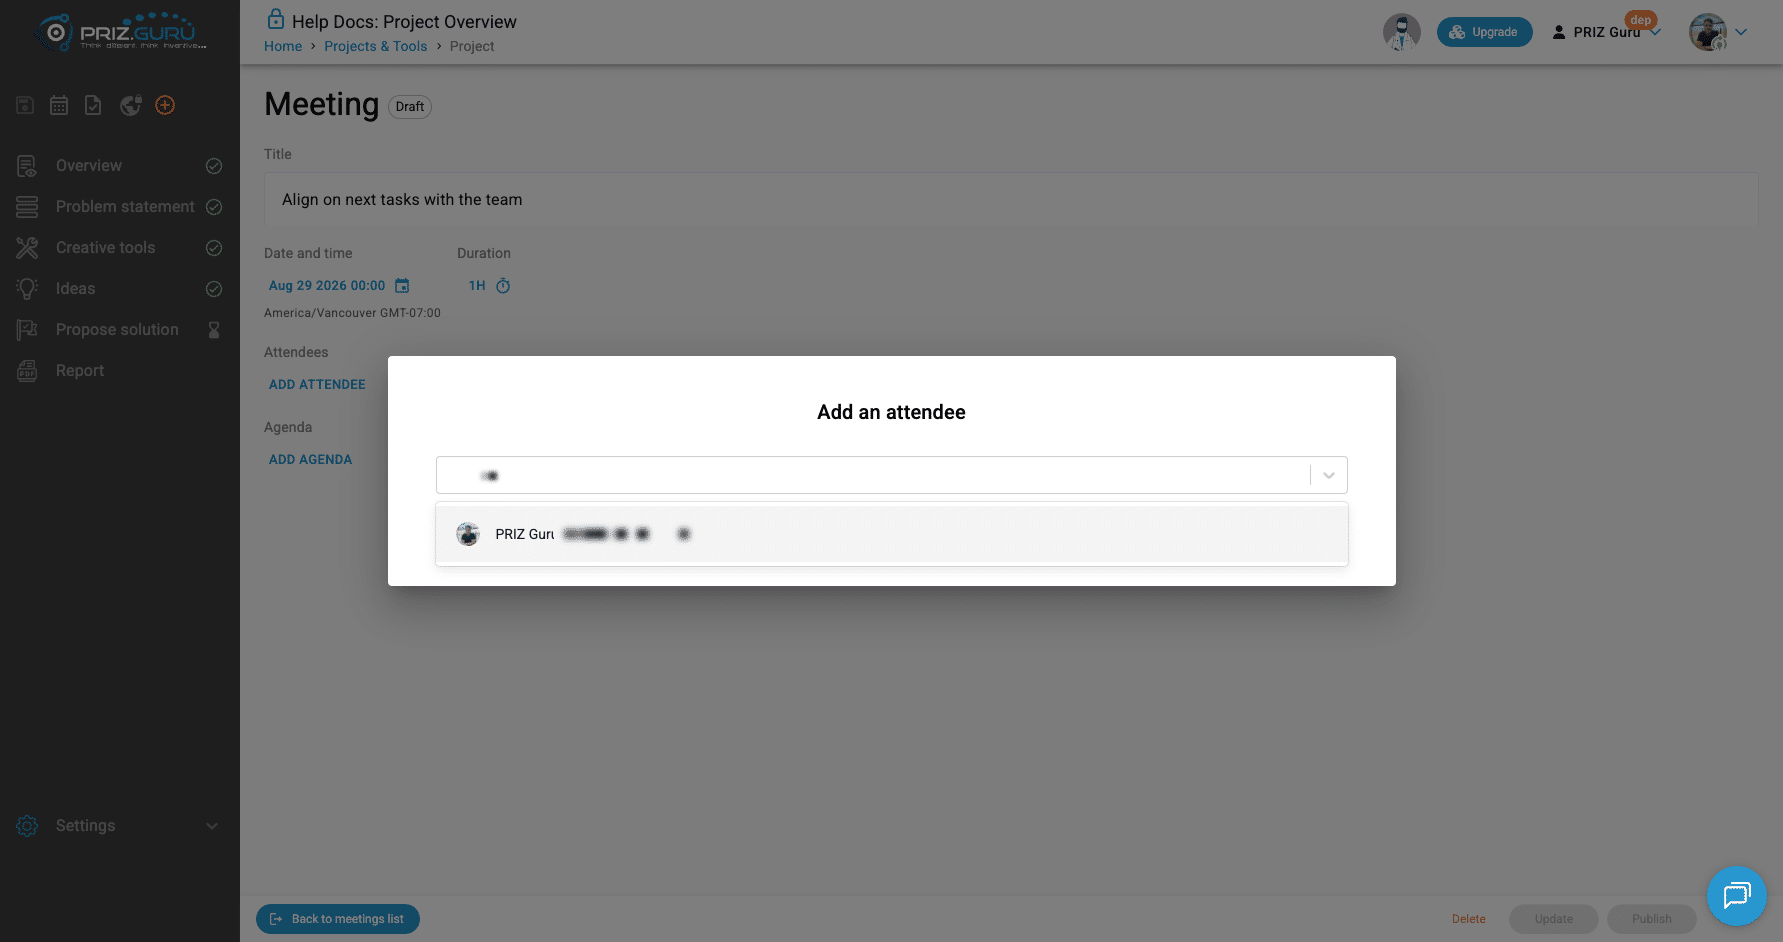
Click Add attendee. You can pick a workspace member, or type an email and use Invite by email for someone outside the workspace.
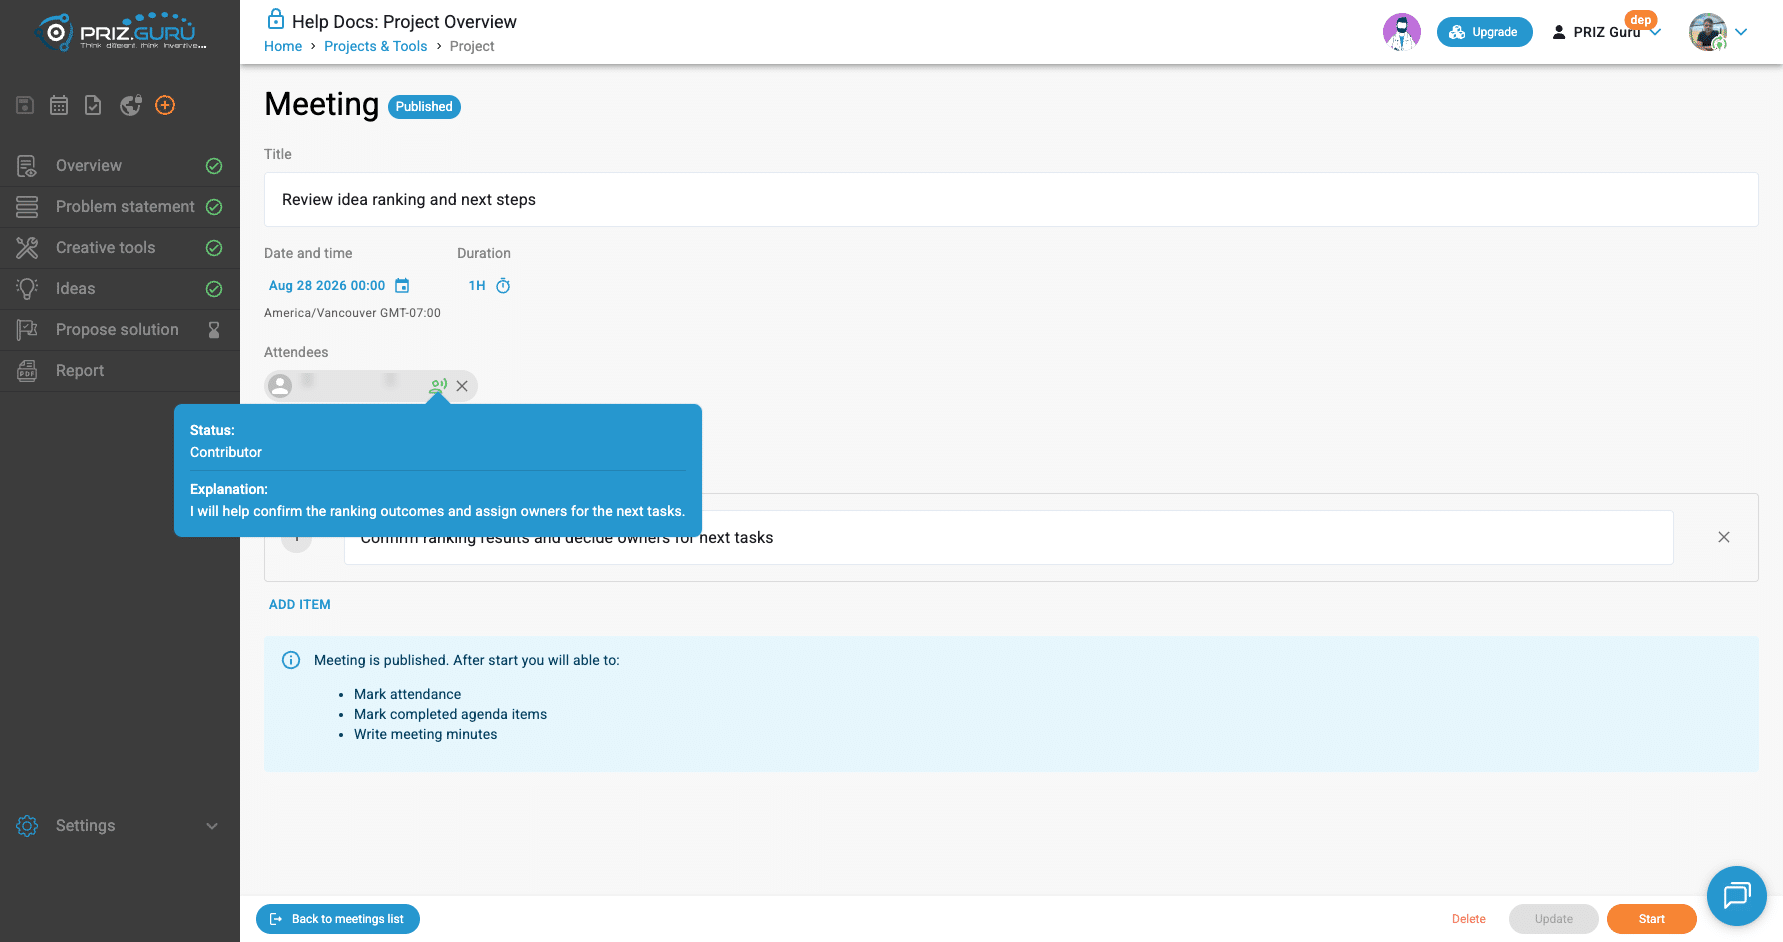
Until they respond, the attendee chip shows a waiting (question mark) status. After they accept, you see their role icon; hover it to read their explanation (details below).
Agenda
Click Add agenda / Add item and write each topic. Keep agenda items concrete so invitees know why they are being asked.
Publish
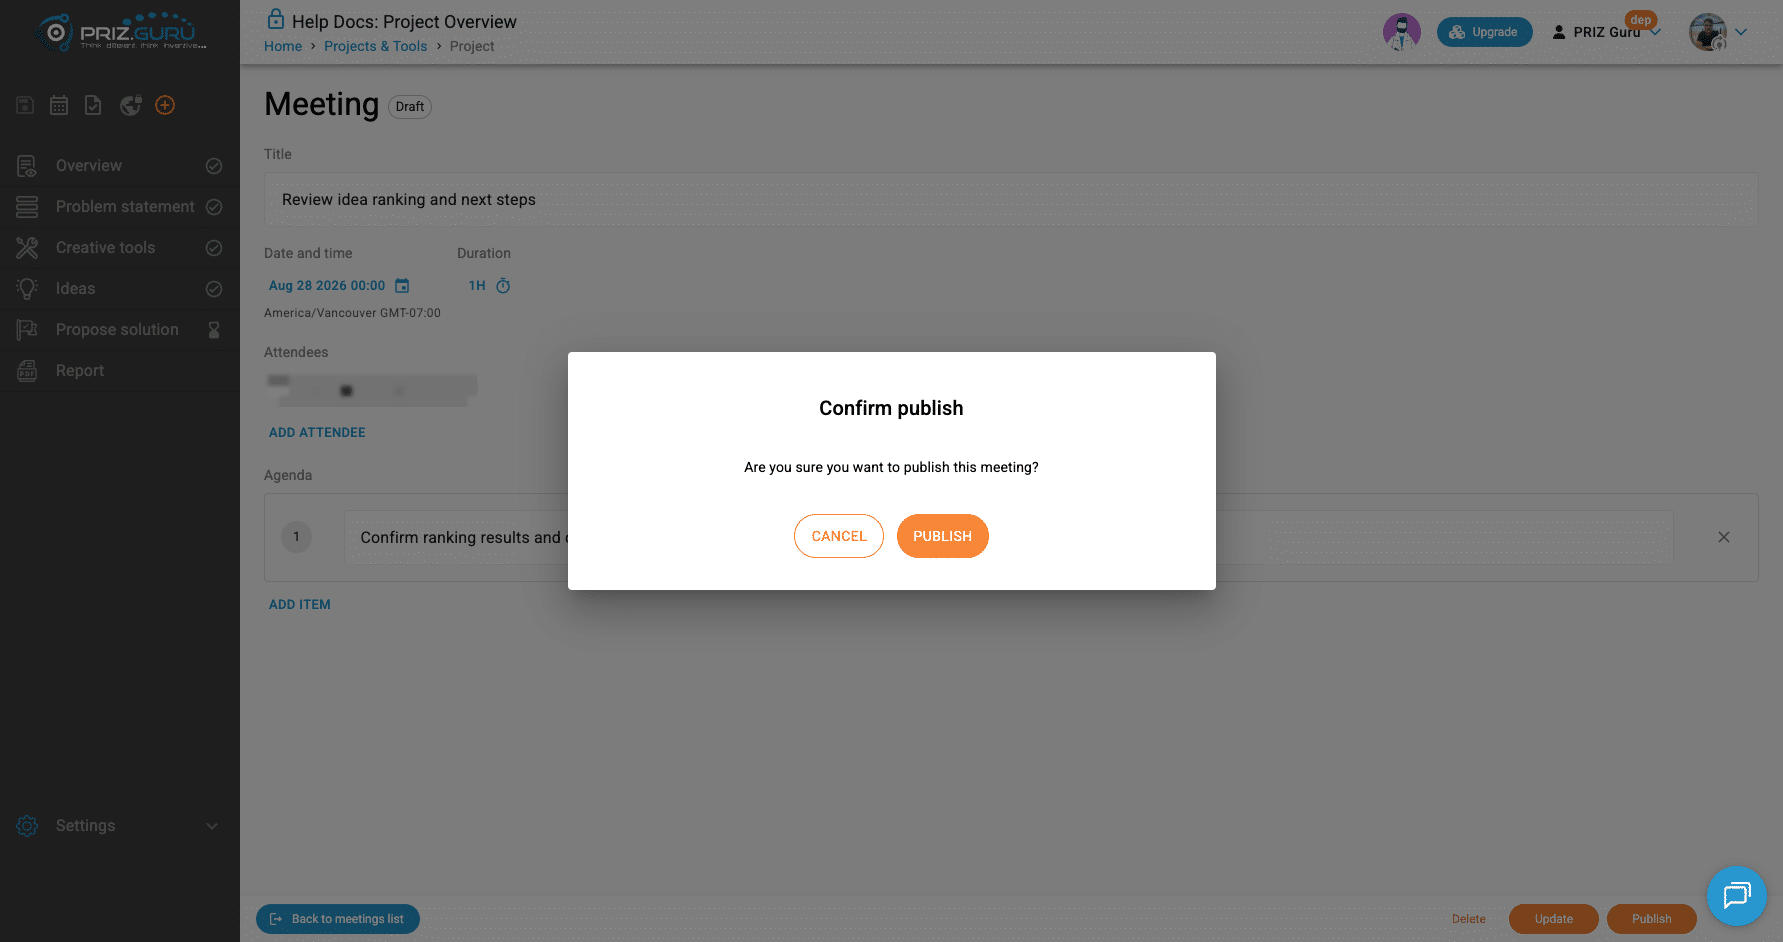
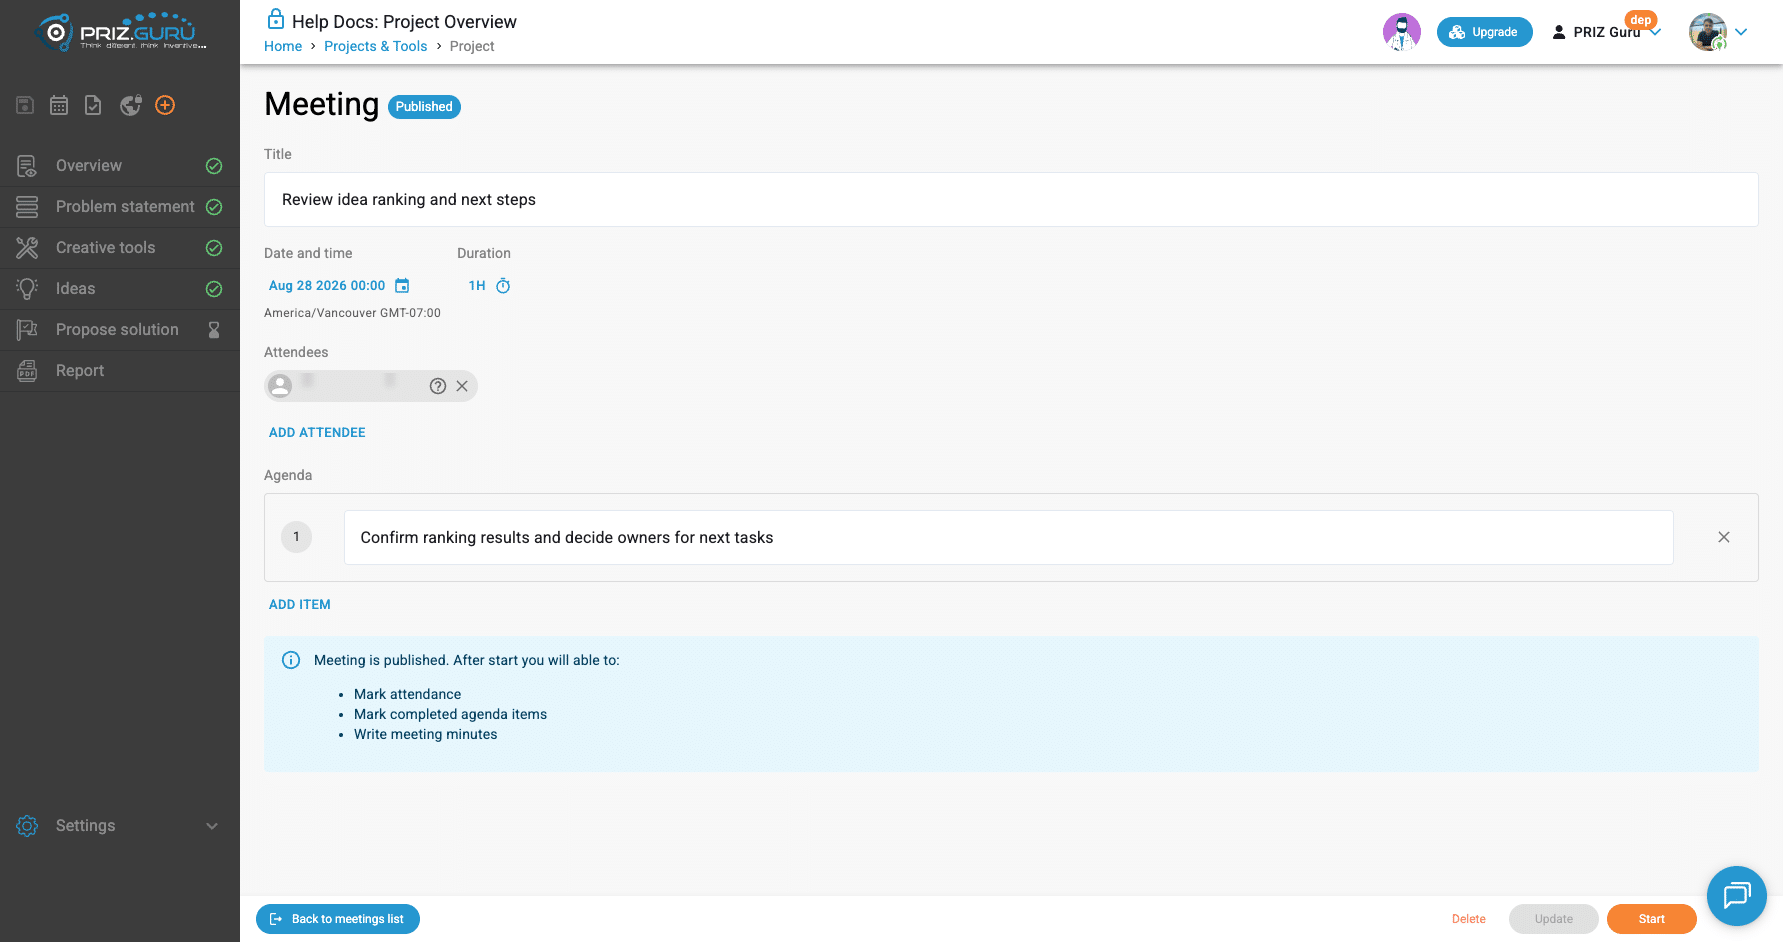
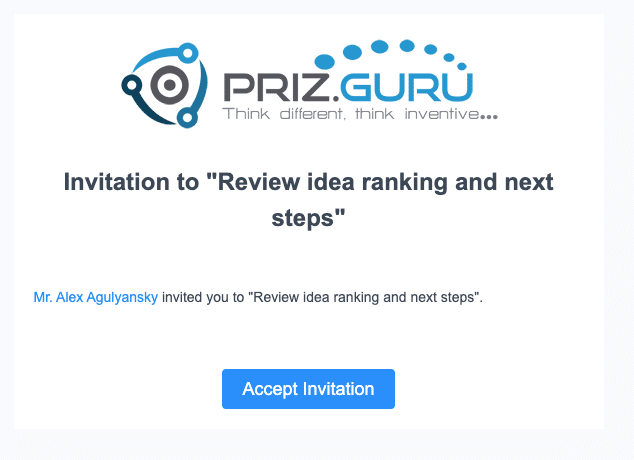
When title, date, duration, attendees, and agenda are ready, click Publish and confirm. Status becomes Published (API: Released). Invitation emails go out to invitees who are not already in the meeting as lead.
Lifecycle (host)
- Draft — edit freely; invitees are not notified yet.
- Published — invitations sent; host can still update details, then Start.
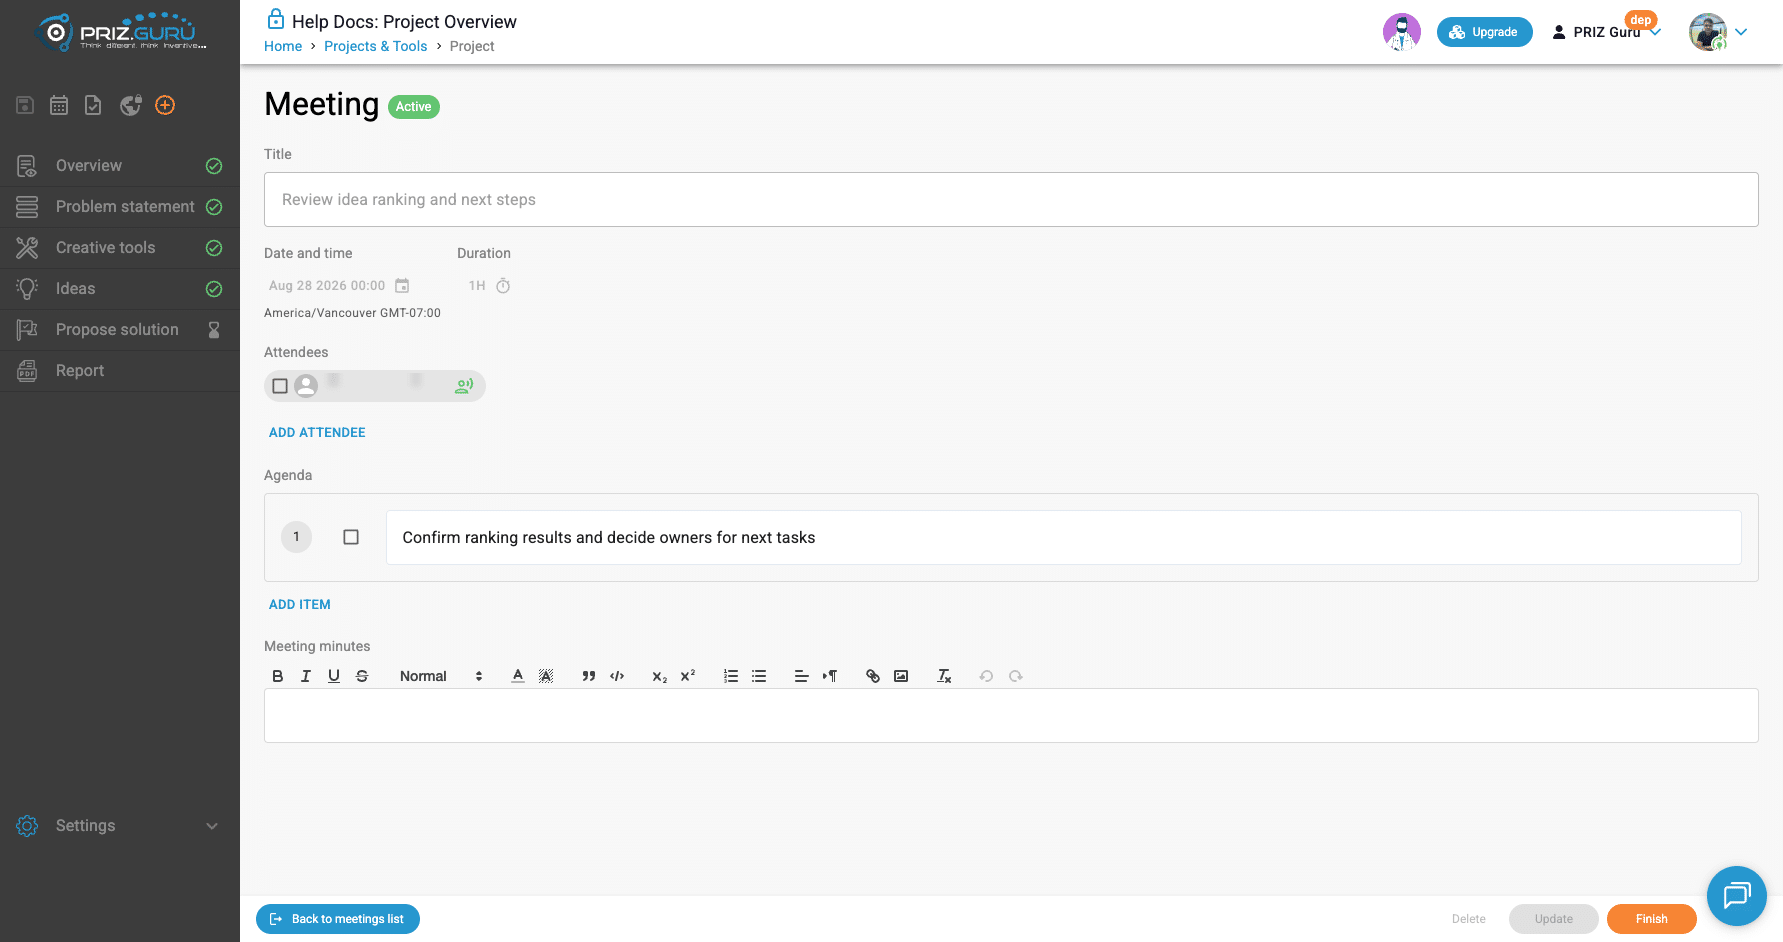
- Active — mark who attended, check off agenda items, write Meeting minutes, then Finish.
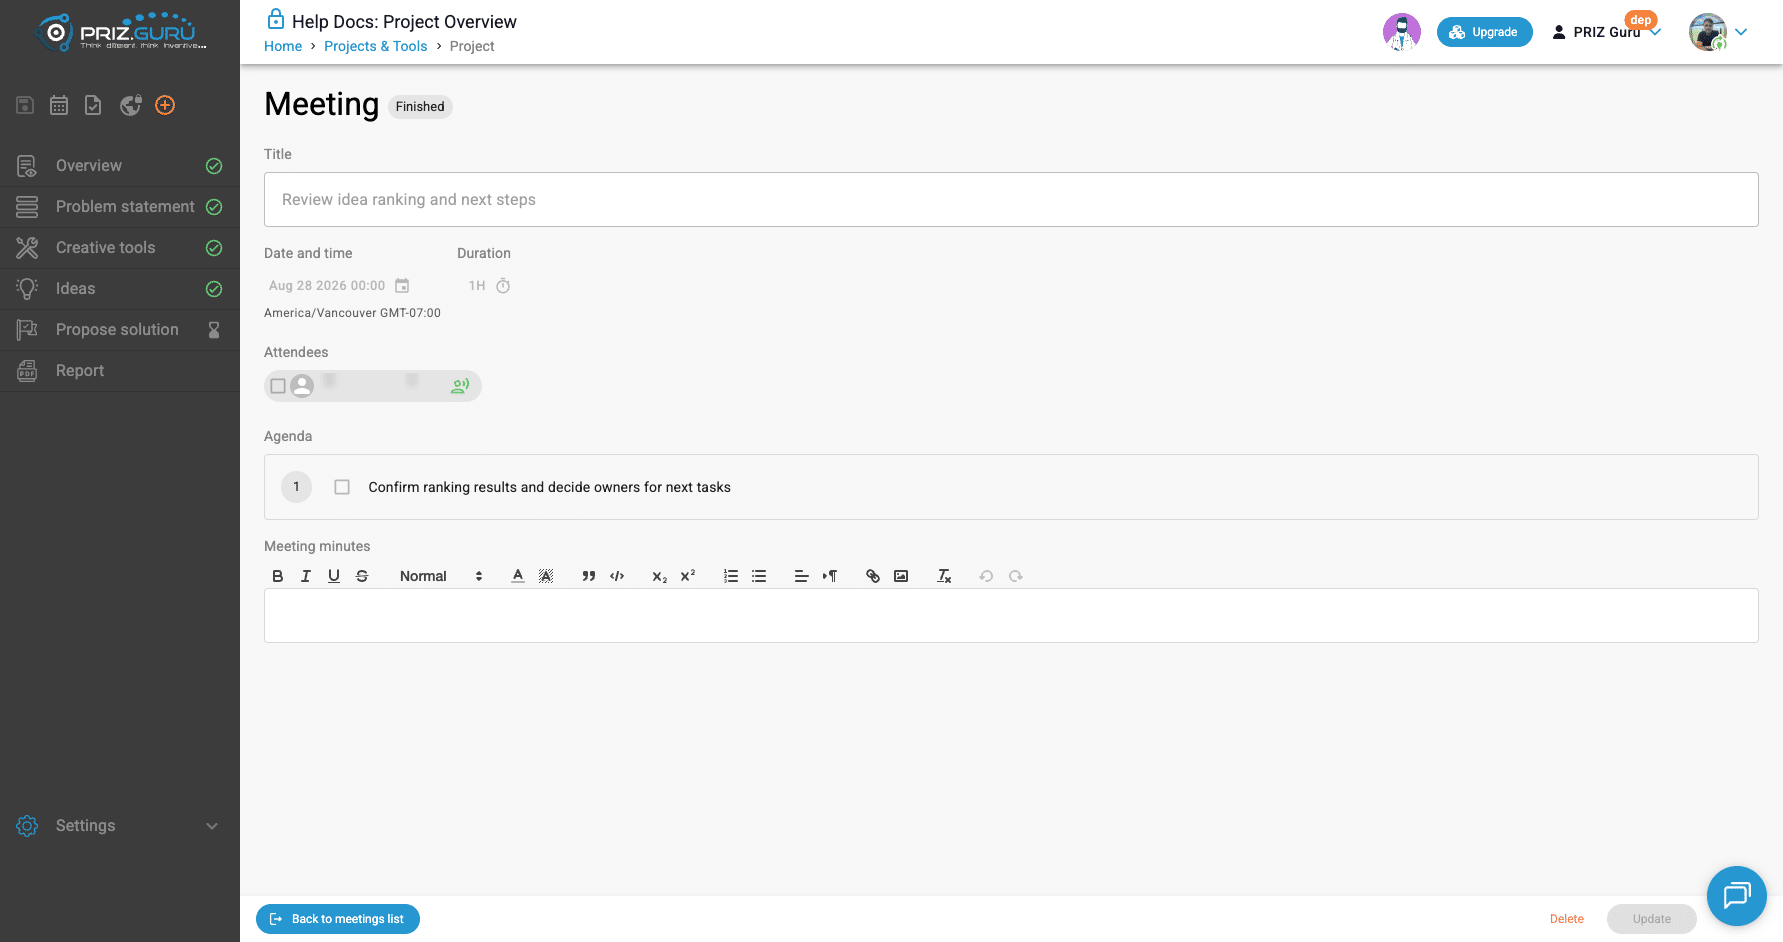
- Finished — record is complete; use it as project history (and later in the report).
There is no Cancelled status. Use Delete if you need to remove a meeting you no longer want.
Invitee outside the workspace (email link)
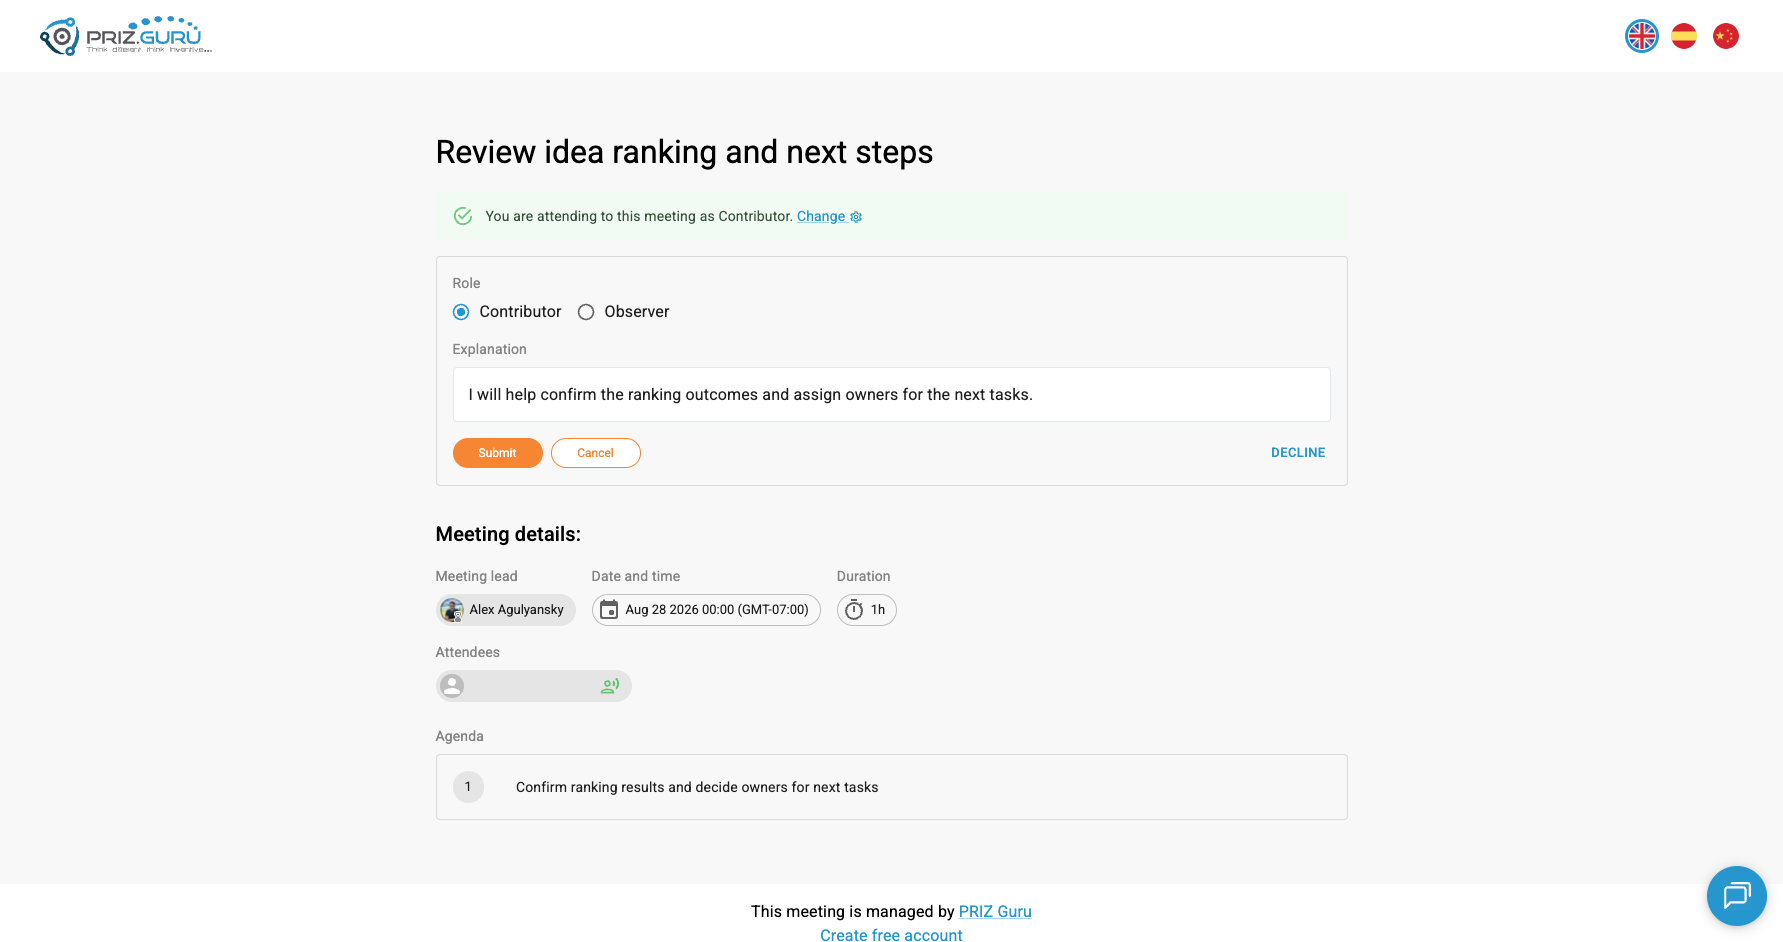
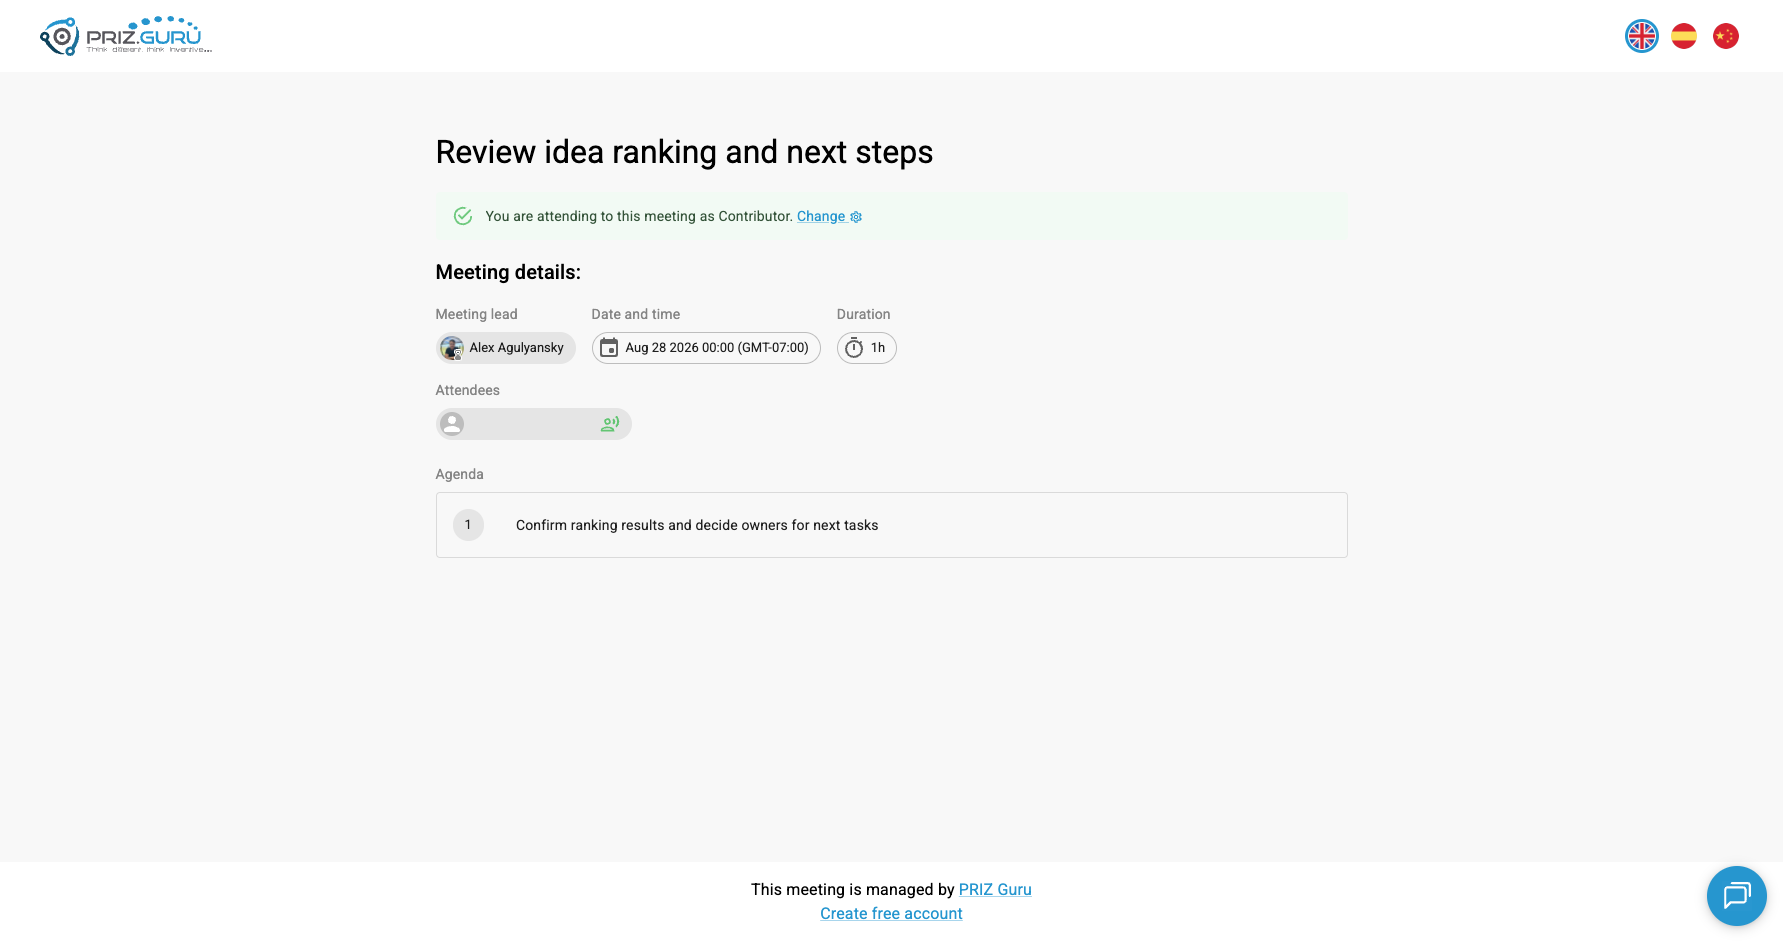
This section is for people you invite by email who are not members of your workspace. They do not log into your project. They open a public page from the invitation email.
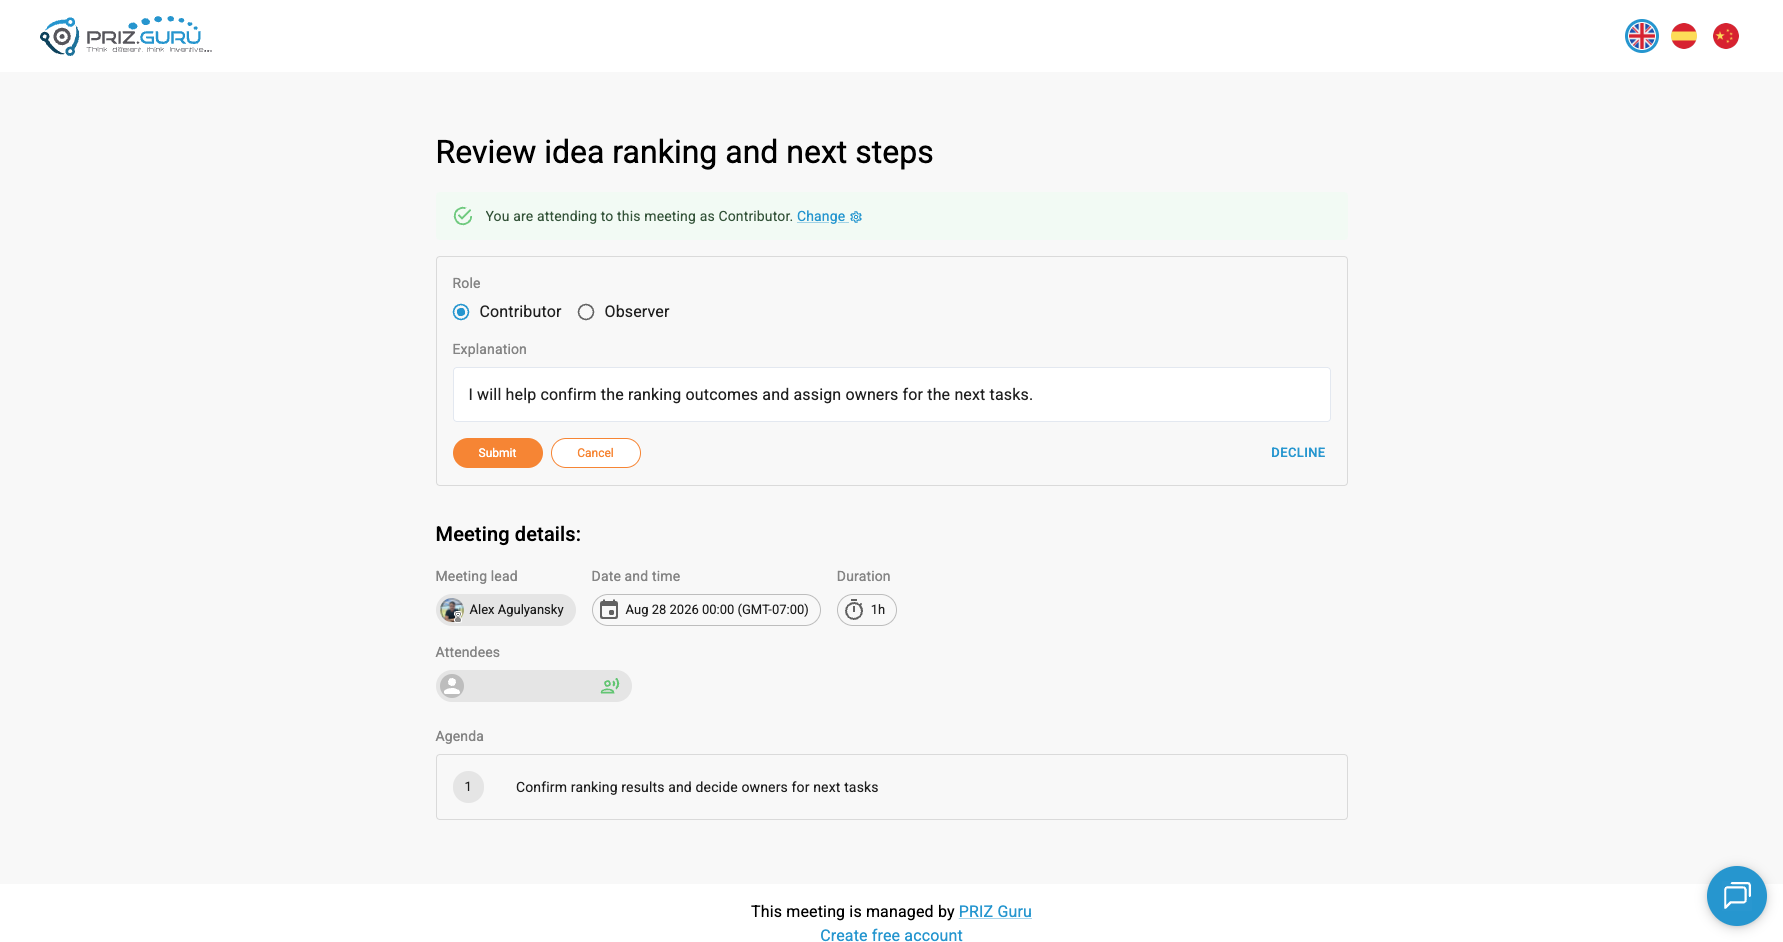
The public page shows meeting details (lead, date, duration, attendees, agenda) and the response form. Footer links include the workspace name and Create free account — useful if the invitee wants their own PRIZ account later, but not required to RSVP.
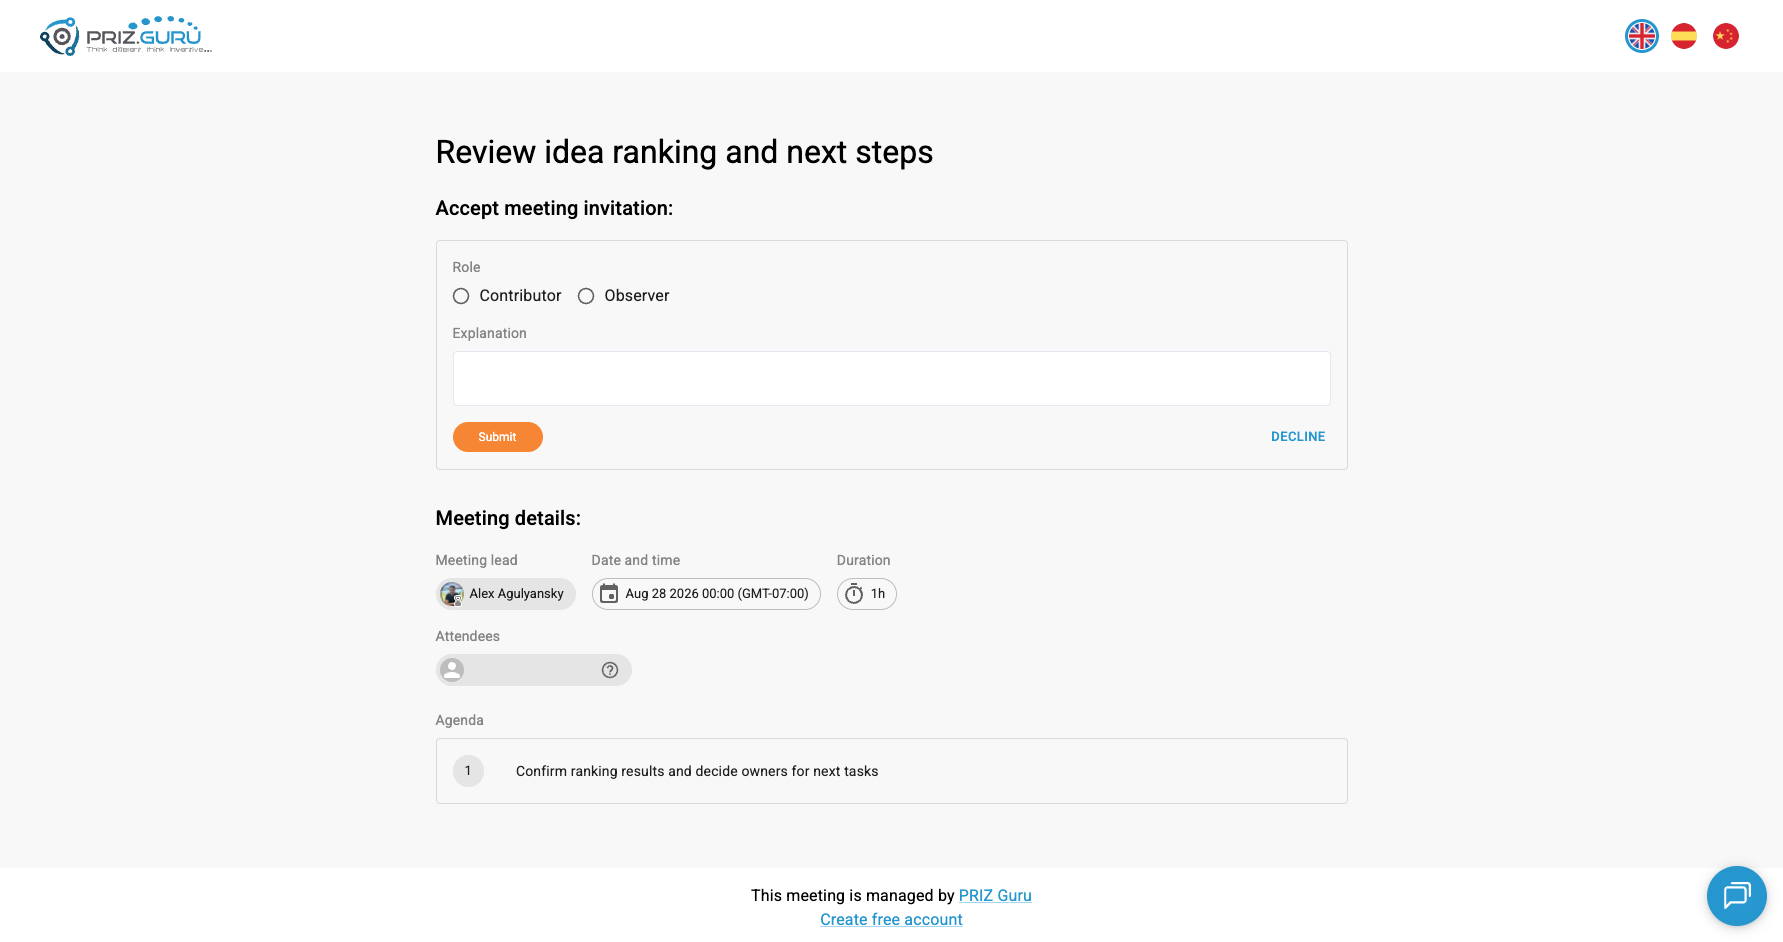
Choose Contributor or Observer, write an Explanation (required to accept), then Submit. Or click Decline (no explanation needed).
Invitee who is a workspace member (in the app)
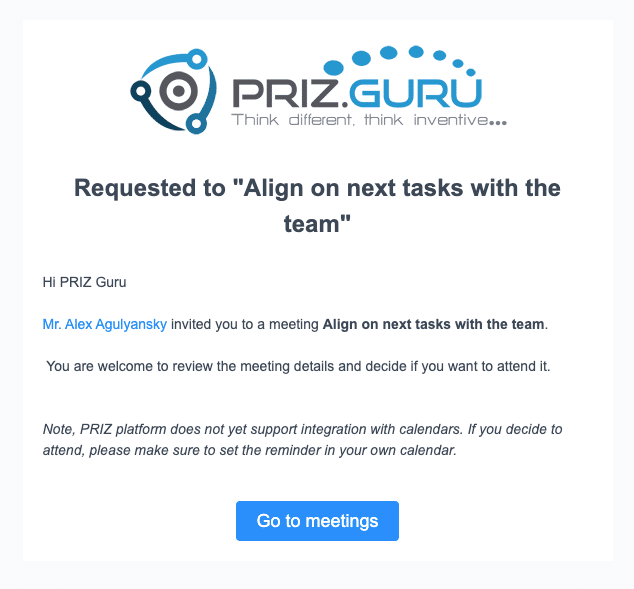
If you invite someone who already belongs to your workspace, they do not use the public token page. They get a different email (“Requested to …” with Go to meetings) and respond on the project Meetings list while logged in.
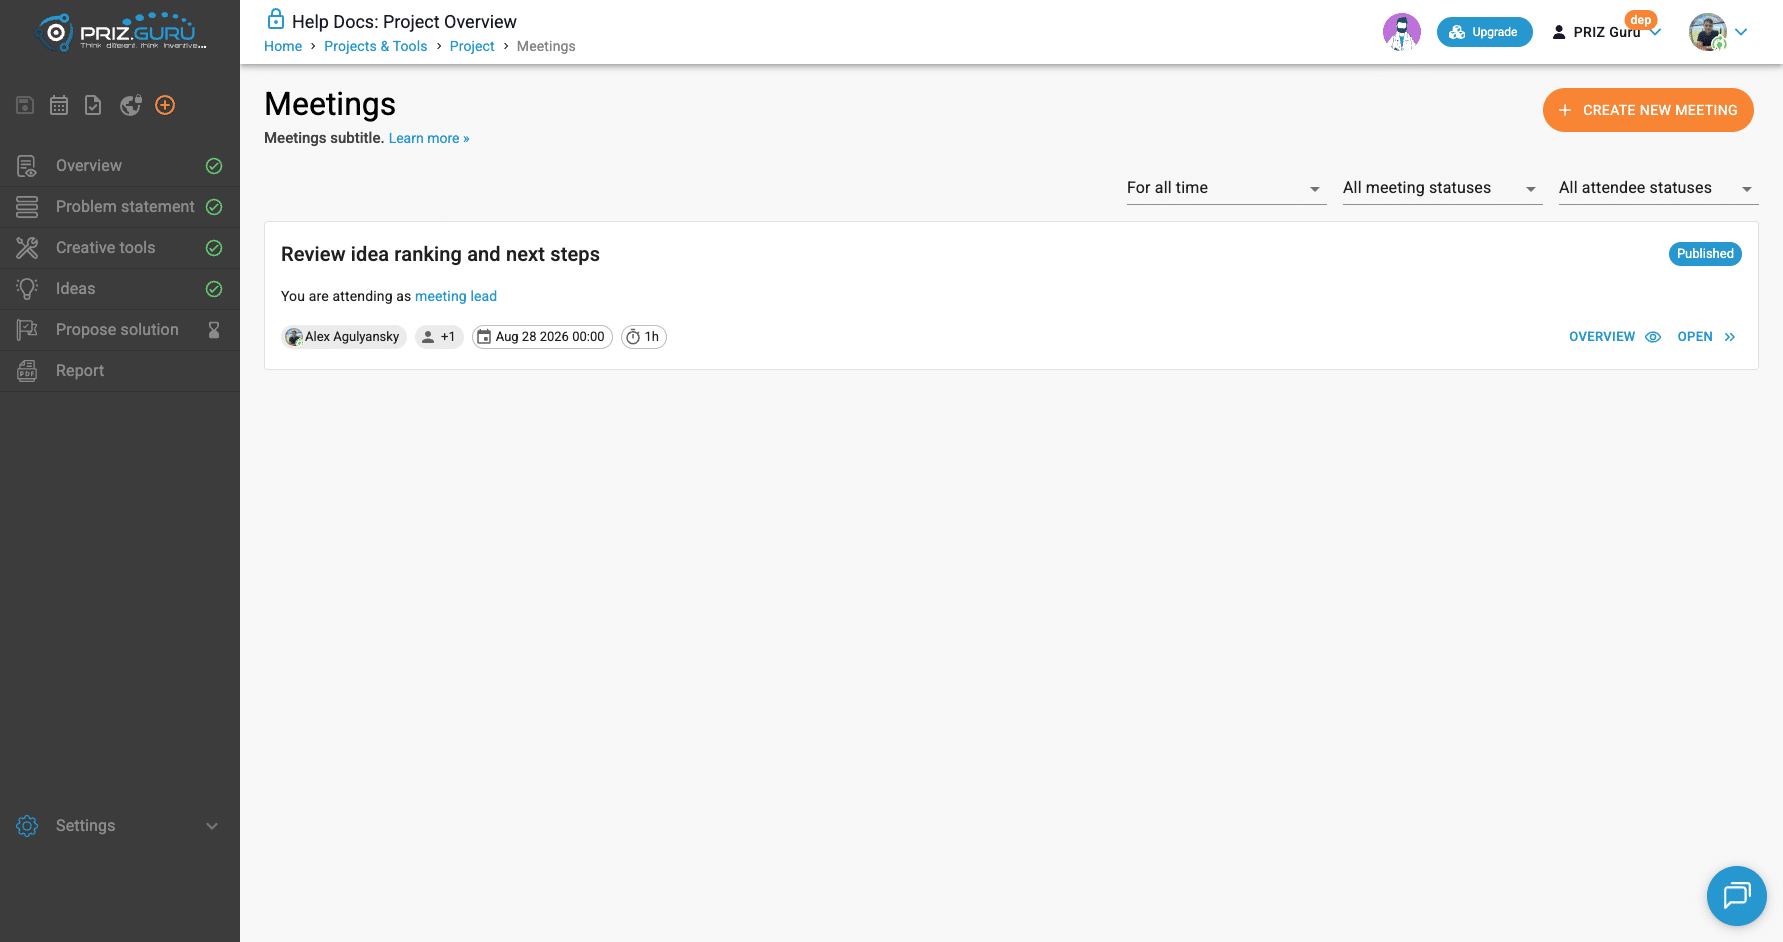
On the Meetings list, they see Accept and Decline on the card (filter Awaiting response helps find pending invites). The Meetings shortcut may also show a badge when a response is waiting.
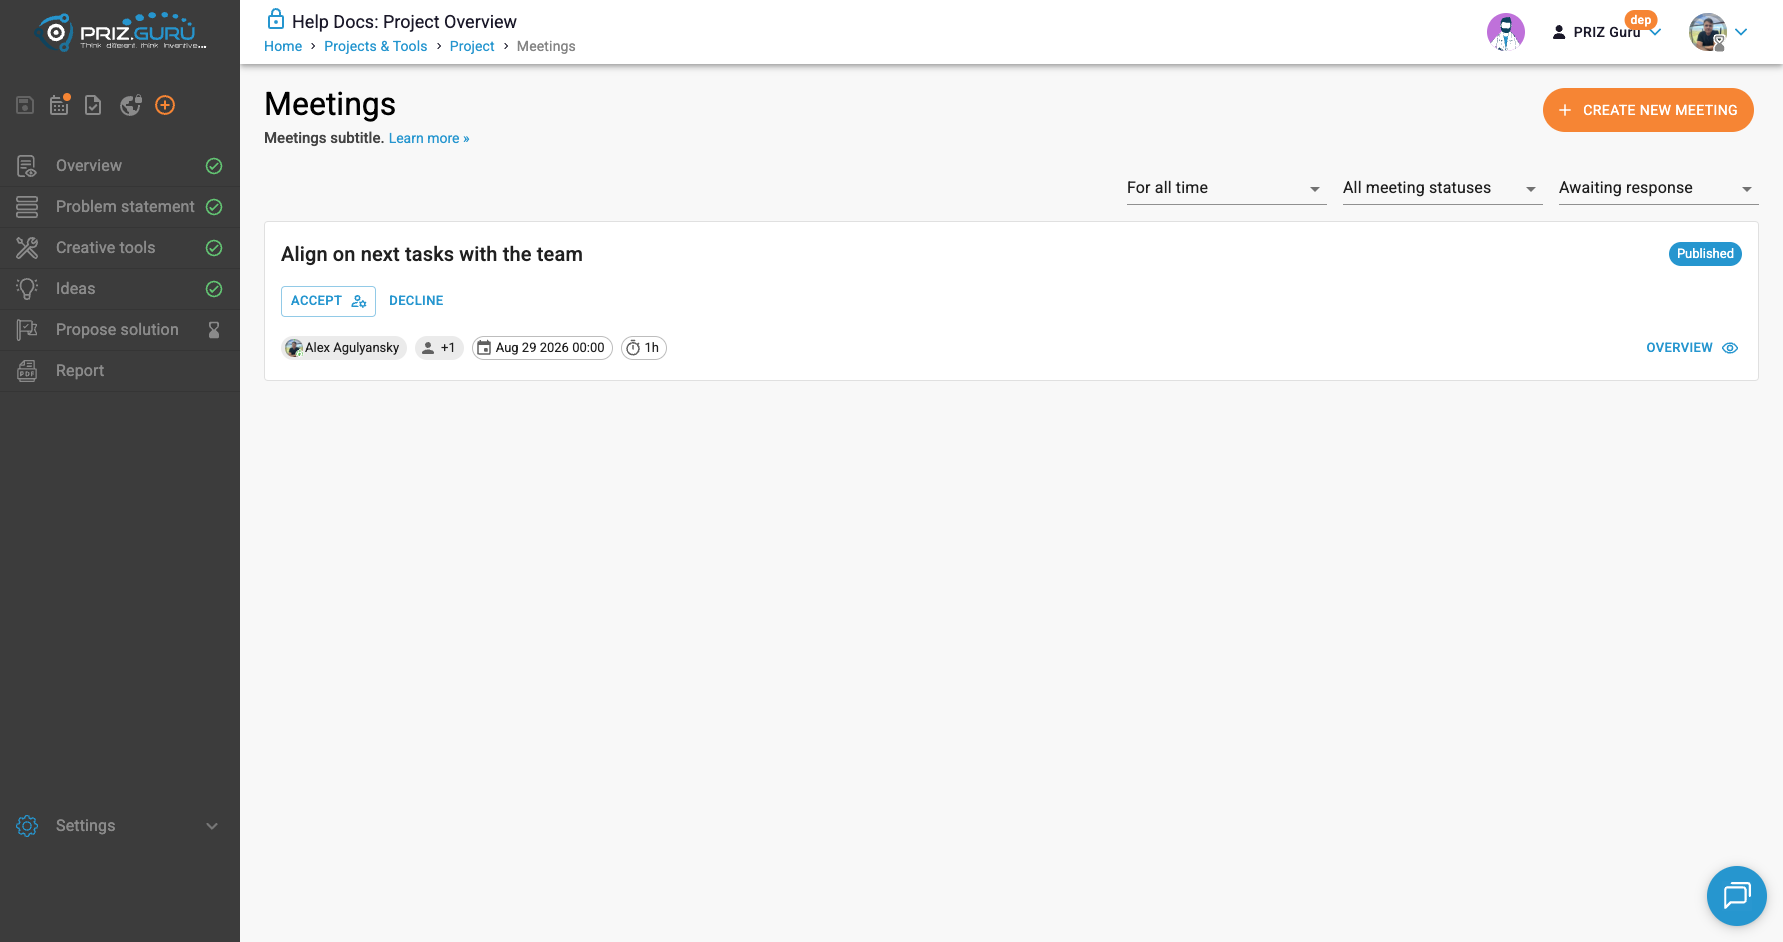
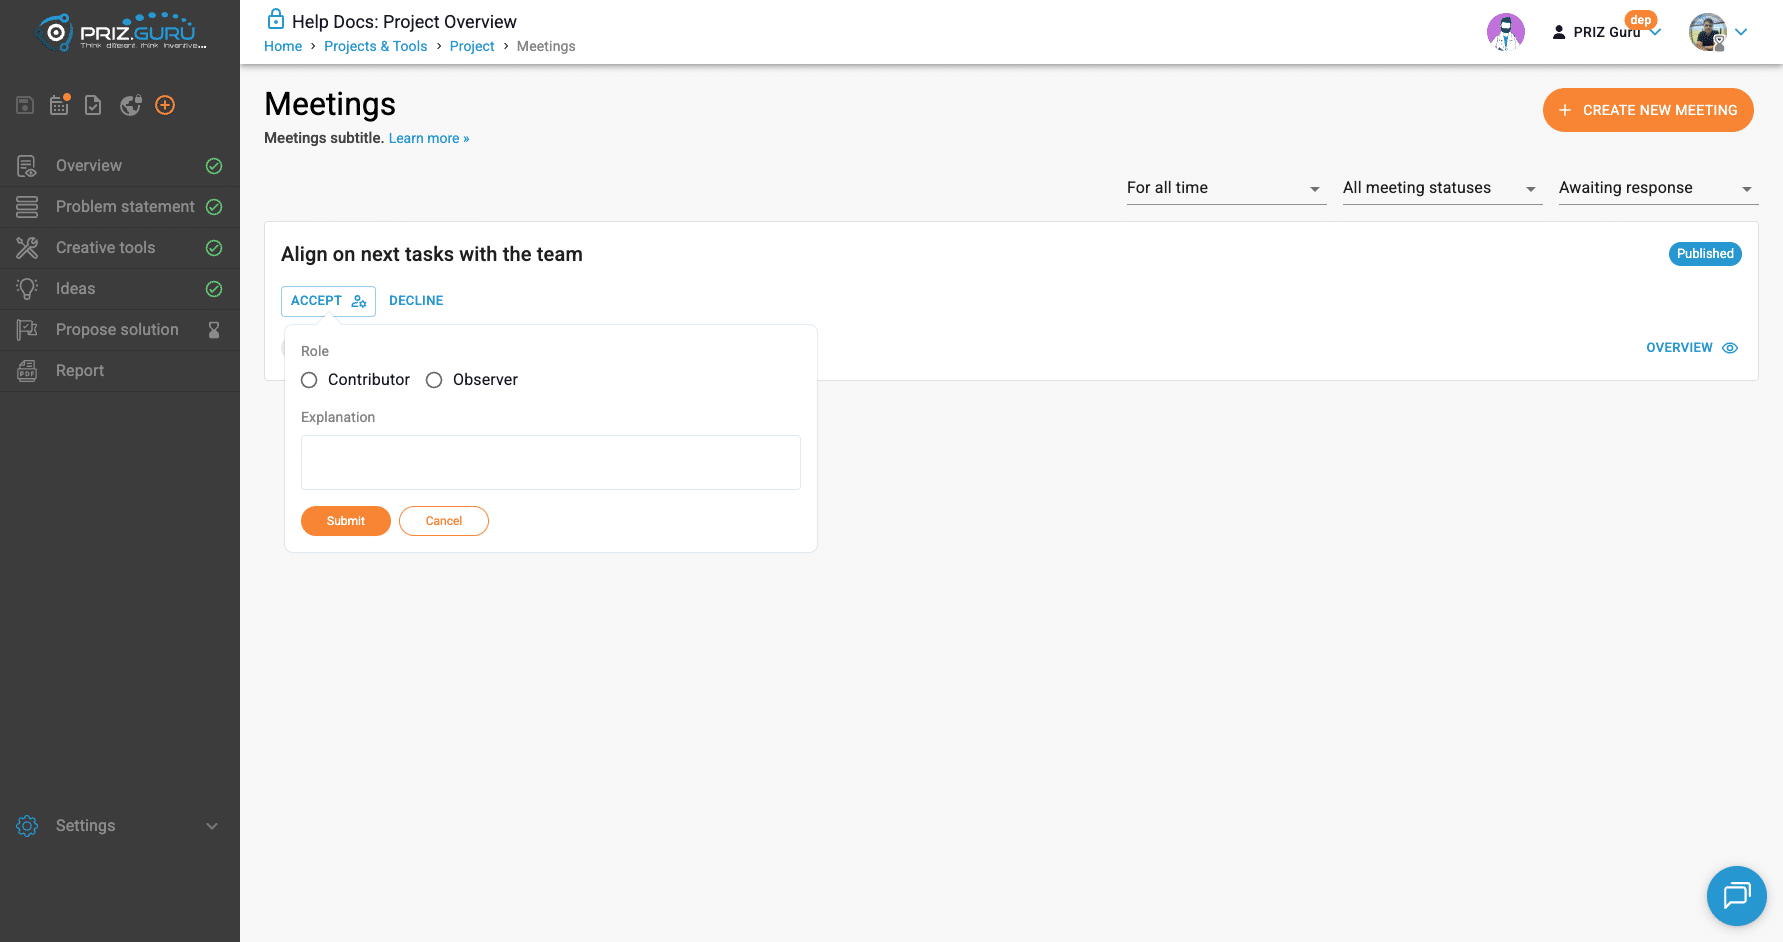
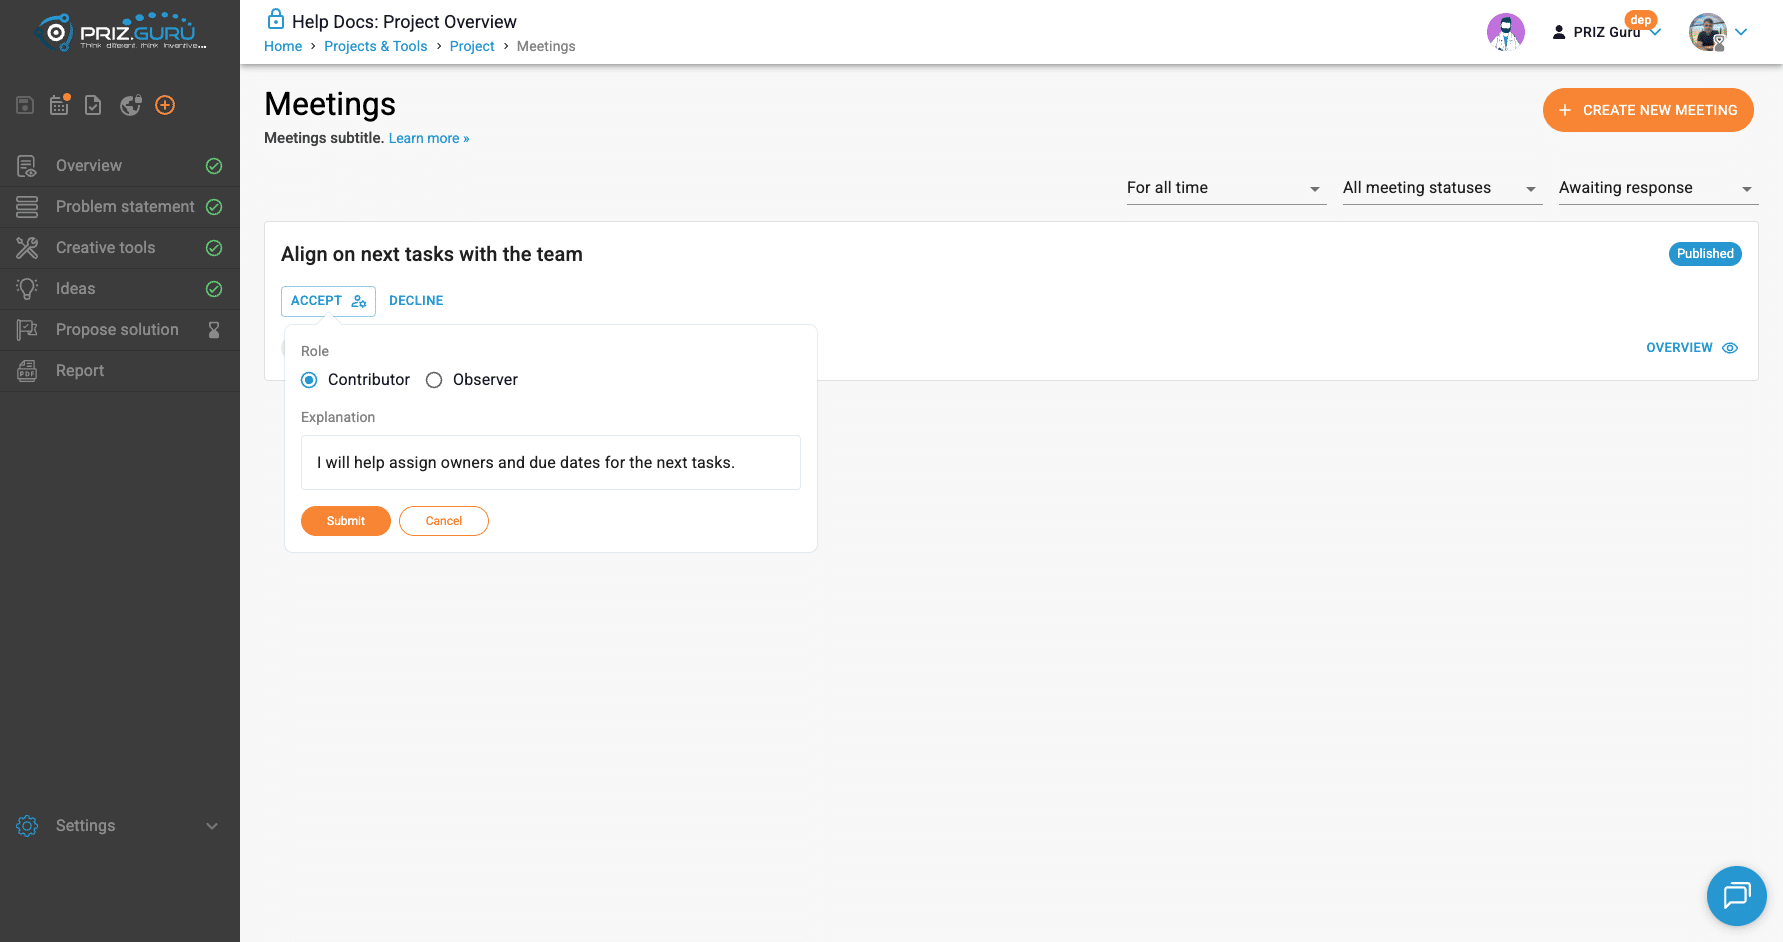
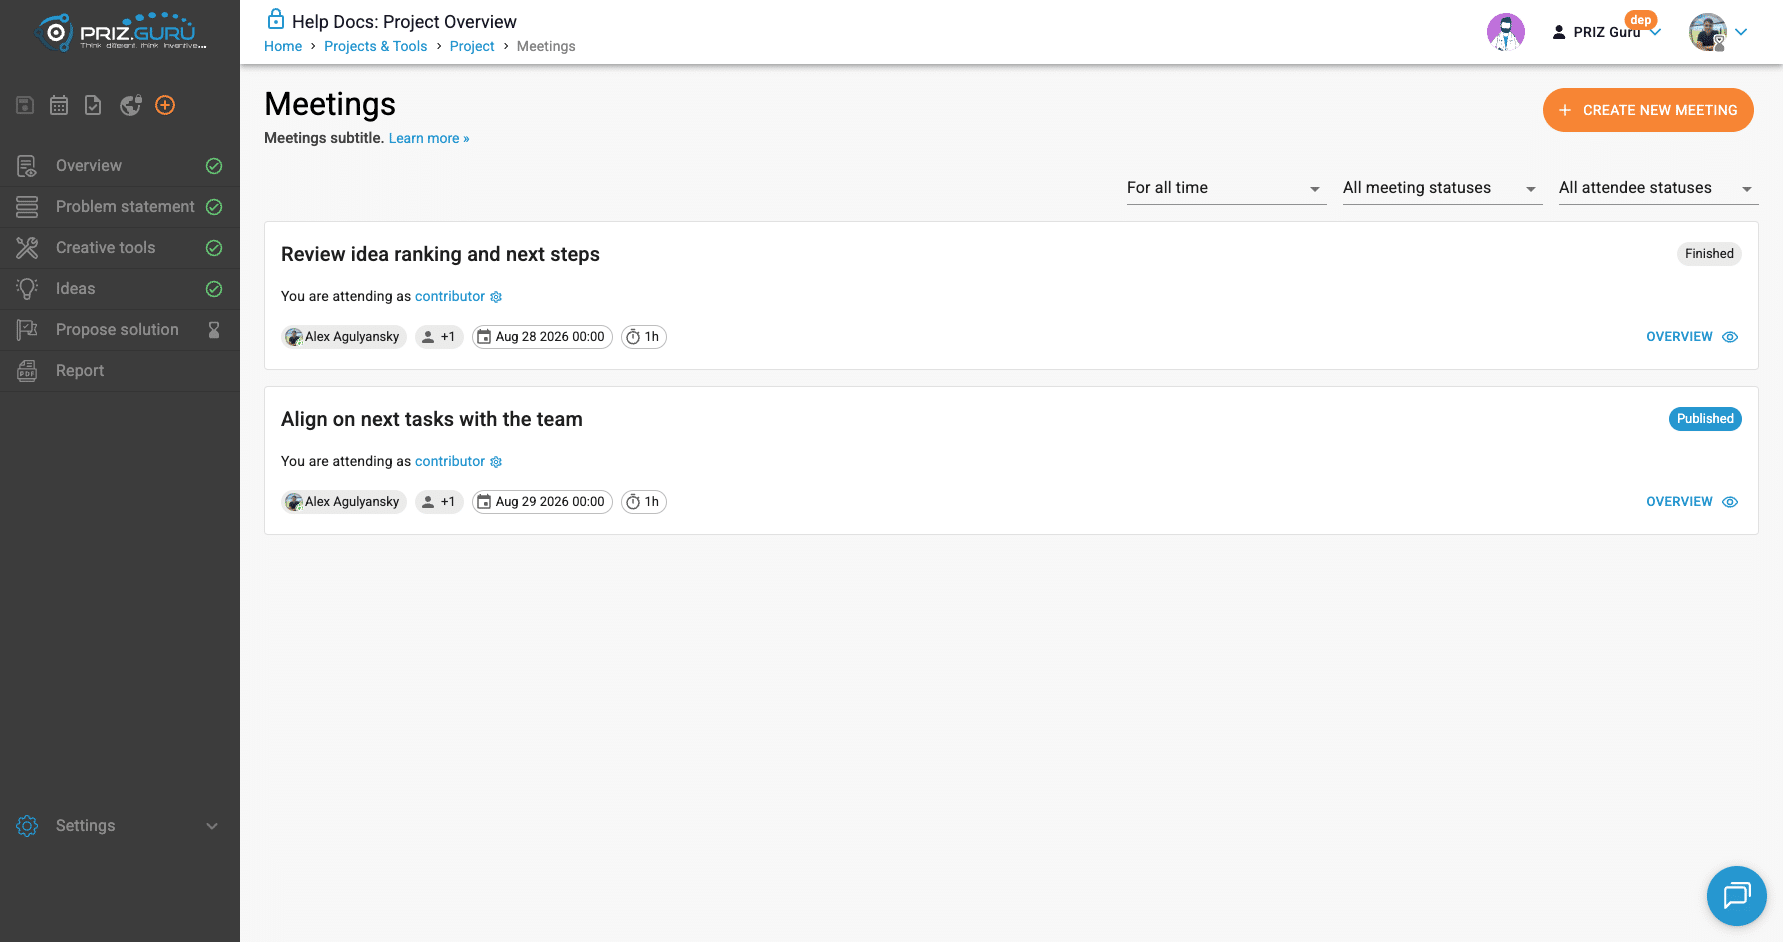
They should be able to open the project (for example, as a project contributor). A workspace-only user who is not on the project team may see the project as read-only and may not be able to complete the RSVP until they have project access.
What the host sees after a response
On the meeting editor, the attendee chip updates from waiting to their role (for example, Contributor). Hover the status icon to read Status and Explanation.
Tips
- Write a specific title and agenda before you invite — invitees decide based on that context.
- Prefer invitees who can contribute or clearly benefit; ask them to say which and why.
- Publish only when you are ready for emails to go out.
- After Start, capture attendance and minutes while the conversation is fresh.
- Meetings support the project; action items still belong in Task Manager.
That’s it. I hope it’s clear and easy.
P.S. Please let us know if you require any assistance.